Top 5 DIY Tutorials For Creating Your Own Face Mask
With the current situation regarding COVID19, a lot of essential precautionary items, such as face masks, have become surprisingly unavailable to a vast population across the world. In this crisis, it is best to improvise and be creative with the options you have, rather than panicking. Creating a DIY face mask is the best solution that you can easily try out at home. They are easy to make, economical, and do an excellent job of protecting you.
Shopping Bag Face Mask
We all have grocery bags lying around the house. Here is a good, productive way to use them. Take a grocery bag, preferably a reusable one. (Plastic grocery bag face masks will not allow you to breathe properly). Cut off the sides of the grocery bag and split it into two separate sheets. Cut squares of appropriate sizes from each sheet, each square having a handle on the side. Sew the sides of the masks and place the sheets together. Now split the handles in half and use them to tie the mask to the back of your head.
T-Shift No-Sew Face Mask
This DIY is the simplest of all and will take the least amount of time to create. Take a clean, old T-shirt and cut out a strap or section for the mask. Fold it in half and cut out a rectangular measurement for your individual fit. If you want, stitch the unattached part of the folded fabric. You can cut off thinner straps from the same T-shirt to make the head ties or attach elastic bands on the sides. You can even use ribbons of your liking. The options are endless.
Putting Fabric To Good Use
Take two rectangular pieces of fabric and lay them flat. Preferably use fabric that does not stretch a lot. Hem the long sides of the rectangles and stitch the shorter sides. Remember to leave a little space for elastics while stitching the shorter sides together. Now pass through the elastic (or ribbons, if you want) through the shorter sides. Adjust them according to your individual size and fit, then stitch them together or simply make a knot. You can layer the fabrics for added protection. Align the sheets of fabric and breathe through them to make sure the mask will allow you to breathe freely.
Using Coffee Filter
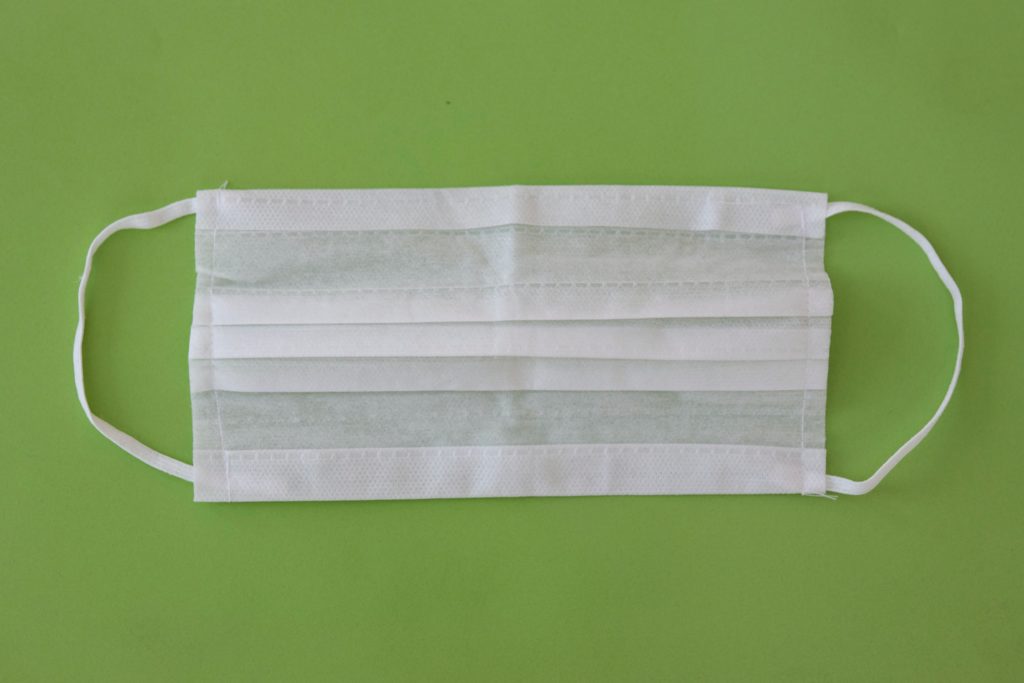
For this, you will need more items than just a coffee filter. It will require a bandana or a piece of cloth and something to act as a head tie, such as elastic, ribbons, etc. Fold the fabric or bandana in half and put a piece of coffee filter on top of it. Now, fold the fabric again and fix it together to secure the ends, just in case. Now attach the ribbons or elastic, and your face mask is ready in less than 10 minutes!
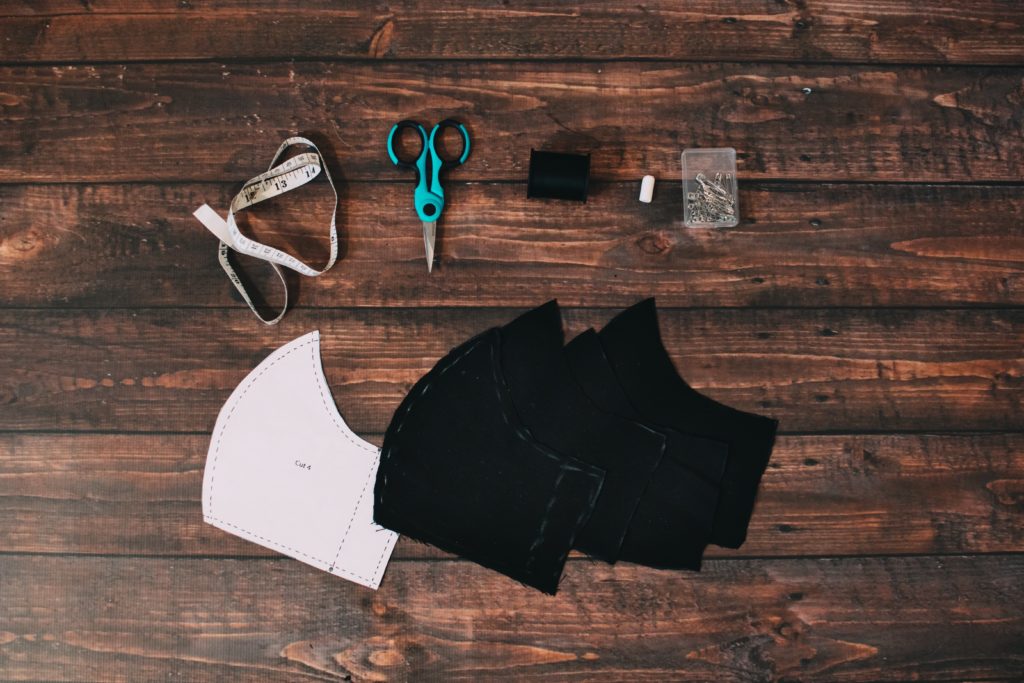
DIY Tutorial For Pleated Masks
These are slightly fancy, ungraded DIY face masks. They are similar to the surgical masks that are found on the market, with folds that help cover your mouth better. Because it is pleated, you will need almost double the amount of fabric that you need for a regular face mask. Take the fabric of your choice and fold it in half. Stitch all the open ends together and leave some space for the head ties. Start folding the fabric in equal lengths from top to bottom. You can mark the fabric with a ruler and a marker to make sure the folds are equal. Sew on both sides of the pleats. Now, create a final fold about midway into the first pleat and stitch it as well. Finally, attach the head ties of your choice, and your fancy face mask is ready!